 |
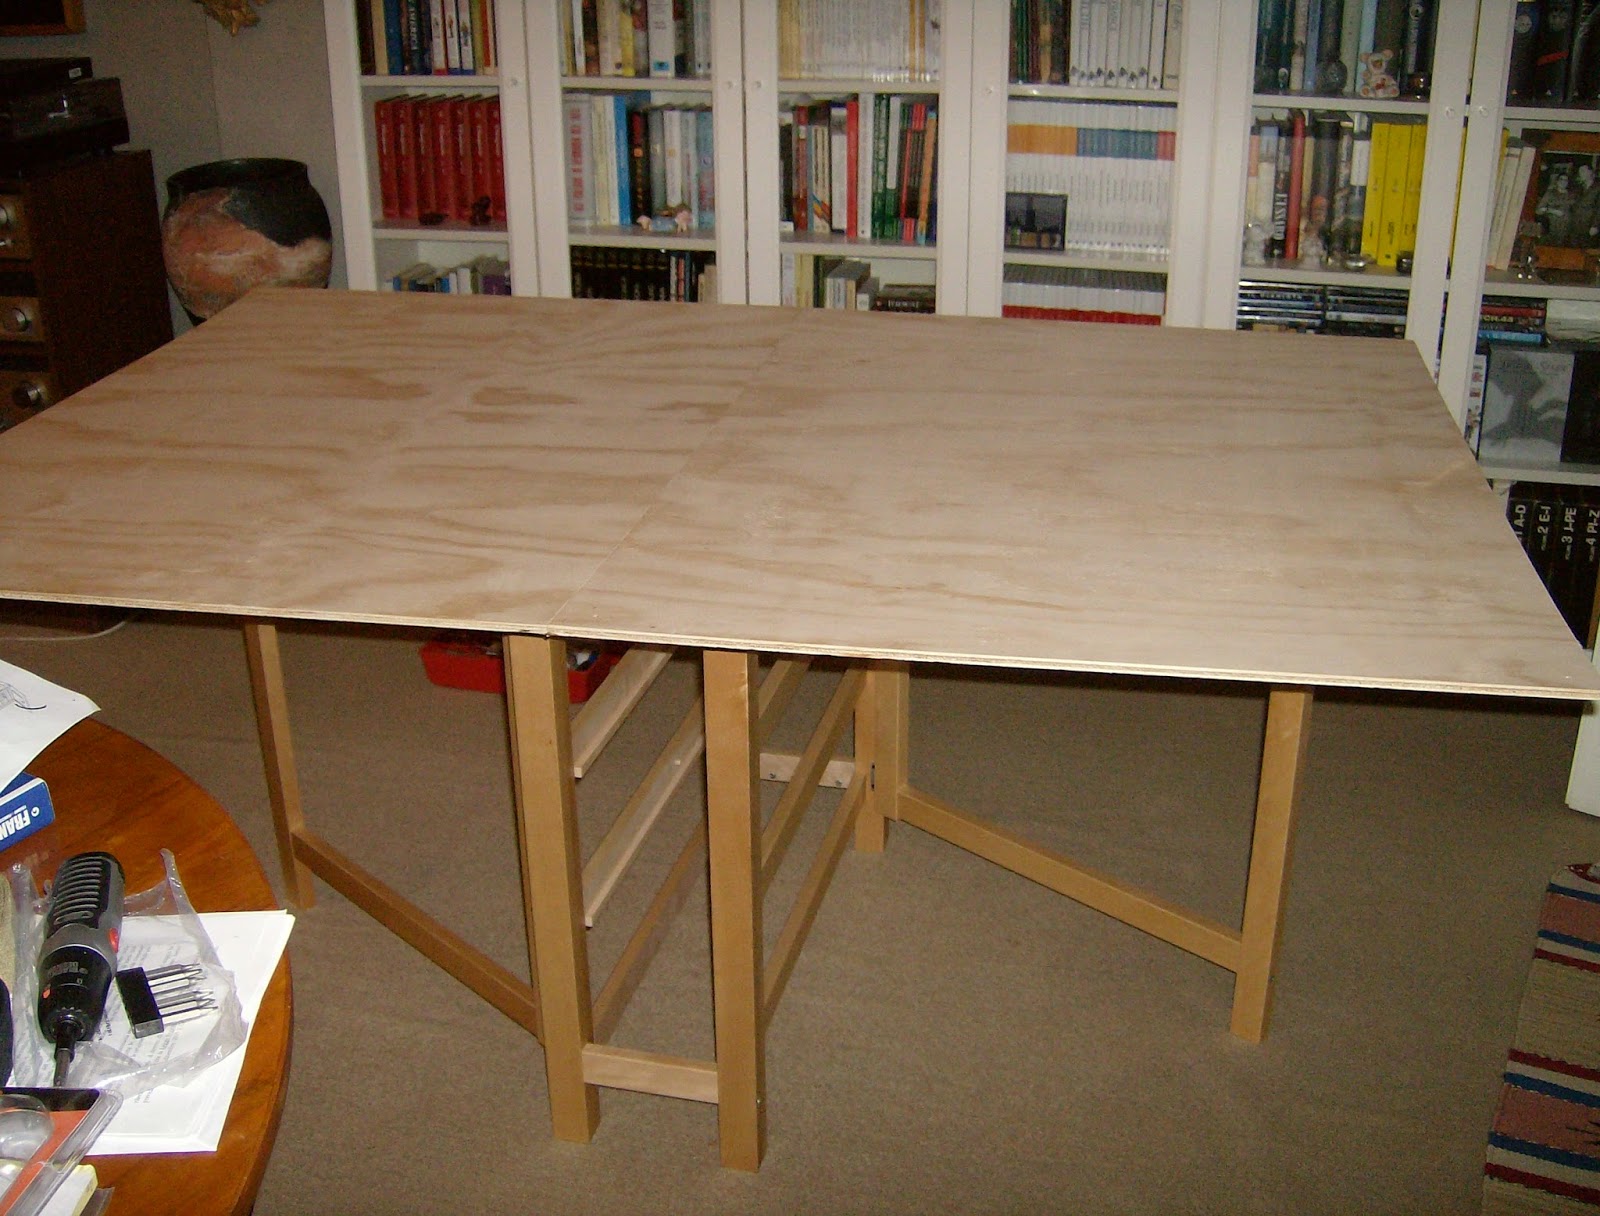
| Shelf above the Ikea table, without drawers in the center. Ripiano sopra il tavolo di Ikea, senza i cassetti al centro. |
Yesterday I bought a table "Norden"
from Ikea and today I installed, it was tiring, but it's worth it.
I'm going to use the table "Norden"
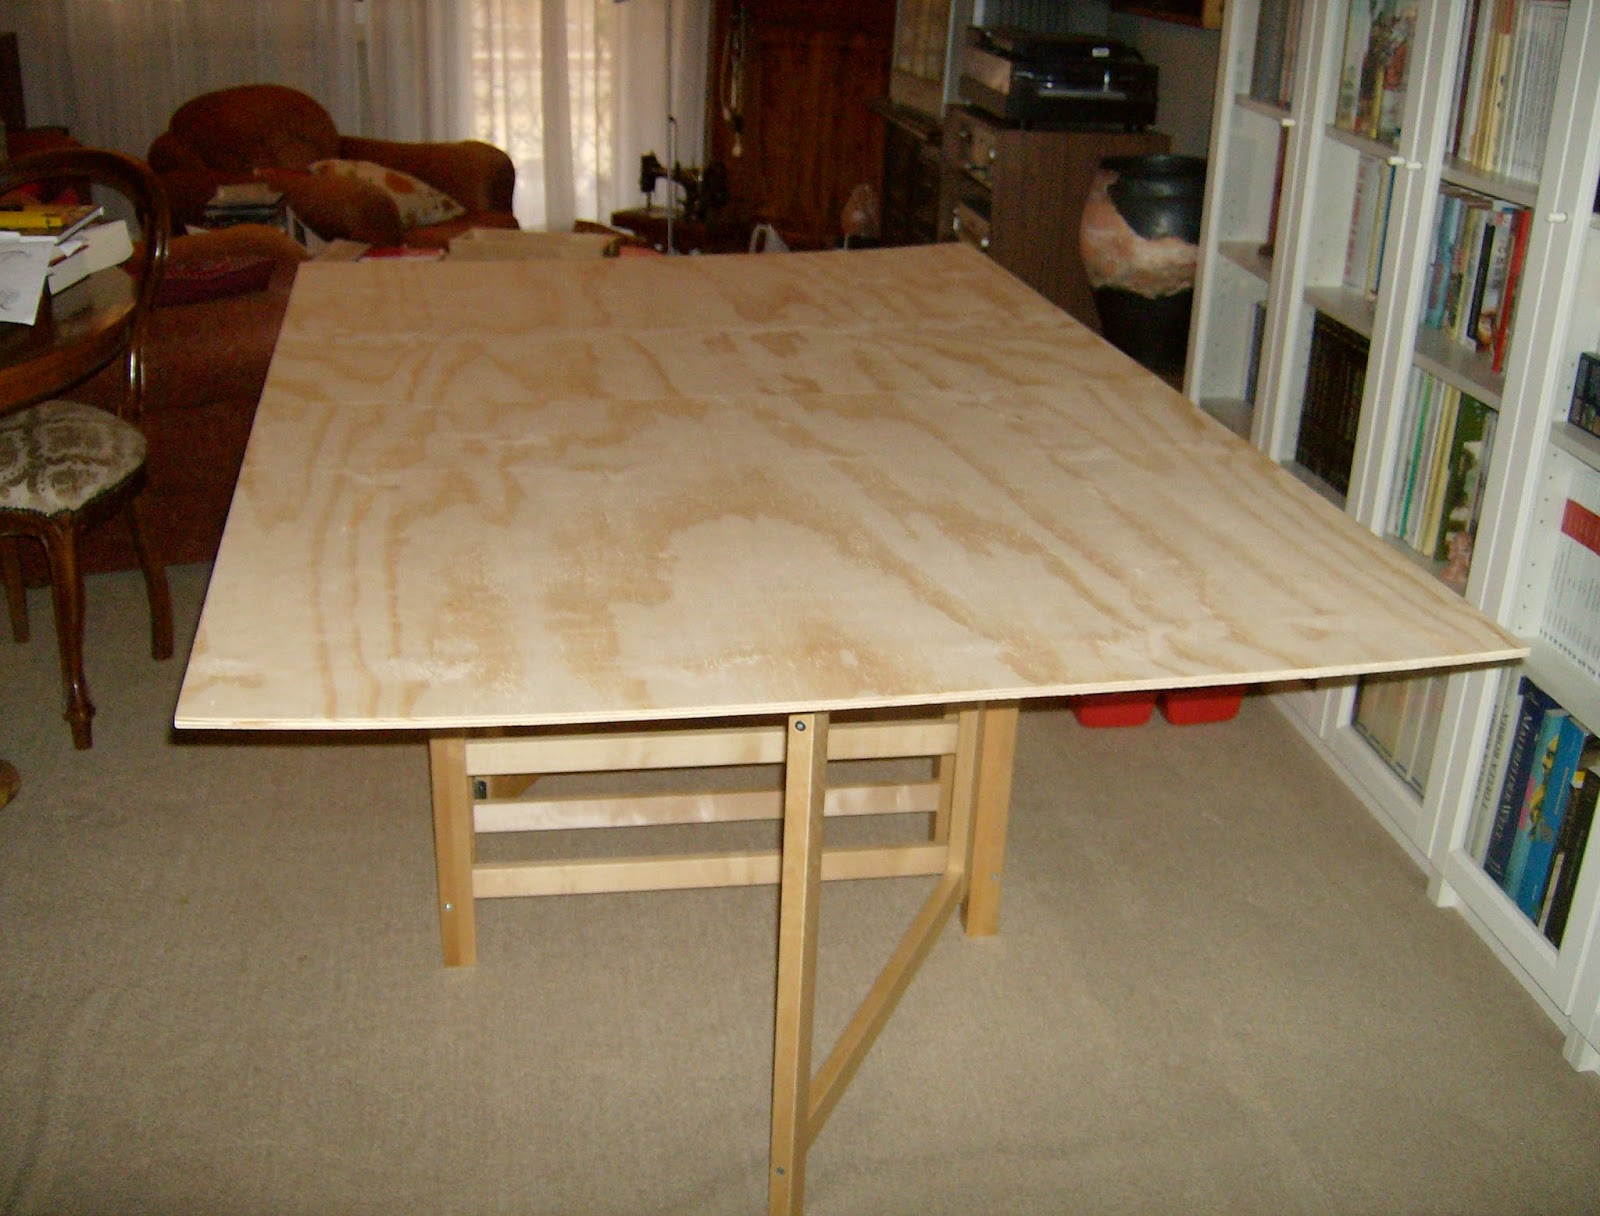
as a support for a table top of wood 120 x 180 cm (4 x 6 Feet) to play the
wargame with the figurines.
Between the Ikea table
and the wood table top I placed a special "anti-slip cloth" in order
not to scratch the table and give it more stability.
The table can be folded into three parts,
occupying very little space.
The table top is divided into two equal parts
of 90 x 120 cm (3 x 4 Feet) joined together by a metal hinge, which allows it
to be folded in two, carry it and store it with less difficulty.
Of course to play the game table top will be
covered by a battle mat by Citadel to simulate the grassy ground.
The idea I had it for some time, I finally put
into practice now remains the problem of where to put everything, the house is
small!
Finalmente da oggi possiedo il
mio tavolo da wargame!
Ieri ho acquistato un tavolo
Norden da Ikea e oggi l’ho montato, è stato faticoso, ma ne vale la pena.
Ho intenzione di usare il tavolo
Norden come supporto per un ripiano di legno di cm 120 x 180 (4 x 6 Feet) per
giocare a wargame tridimensionale.
Tra il tavolo Ikea e il ripiano ho posizionato uno
speciale “panno antiscivolo” per non graffiare il tavolo e dare più stabilità.
Il tavolo può essere ripiegato in
tre parti, occupando davvero poco spazio.
Il ripiano è diviso in due parti
uguali di cm 90 x 120 (3 x 4 Feet) unite tra loro da una cerniera metallica, il
che consente di ripiegarlo in due, trasportarlo e riporlo con minori
difficoltà.
Naturalmente per giocare il piano
di gioco sarà coperto da un tappeto da gioco della Citadel per simulare il
terreno erboso.
L’idea ce l’avevo da tempo, finalmente l’ho messa in pratica ora rimane
il problema di dove riporre il tutto, la casa è piccola!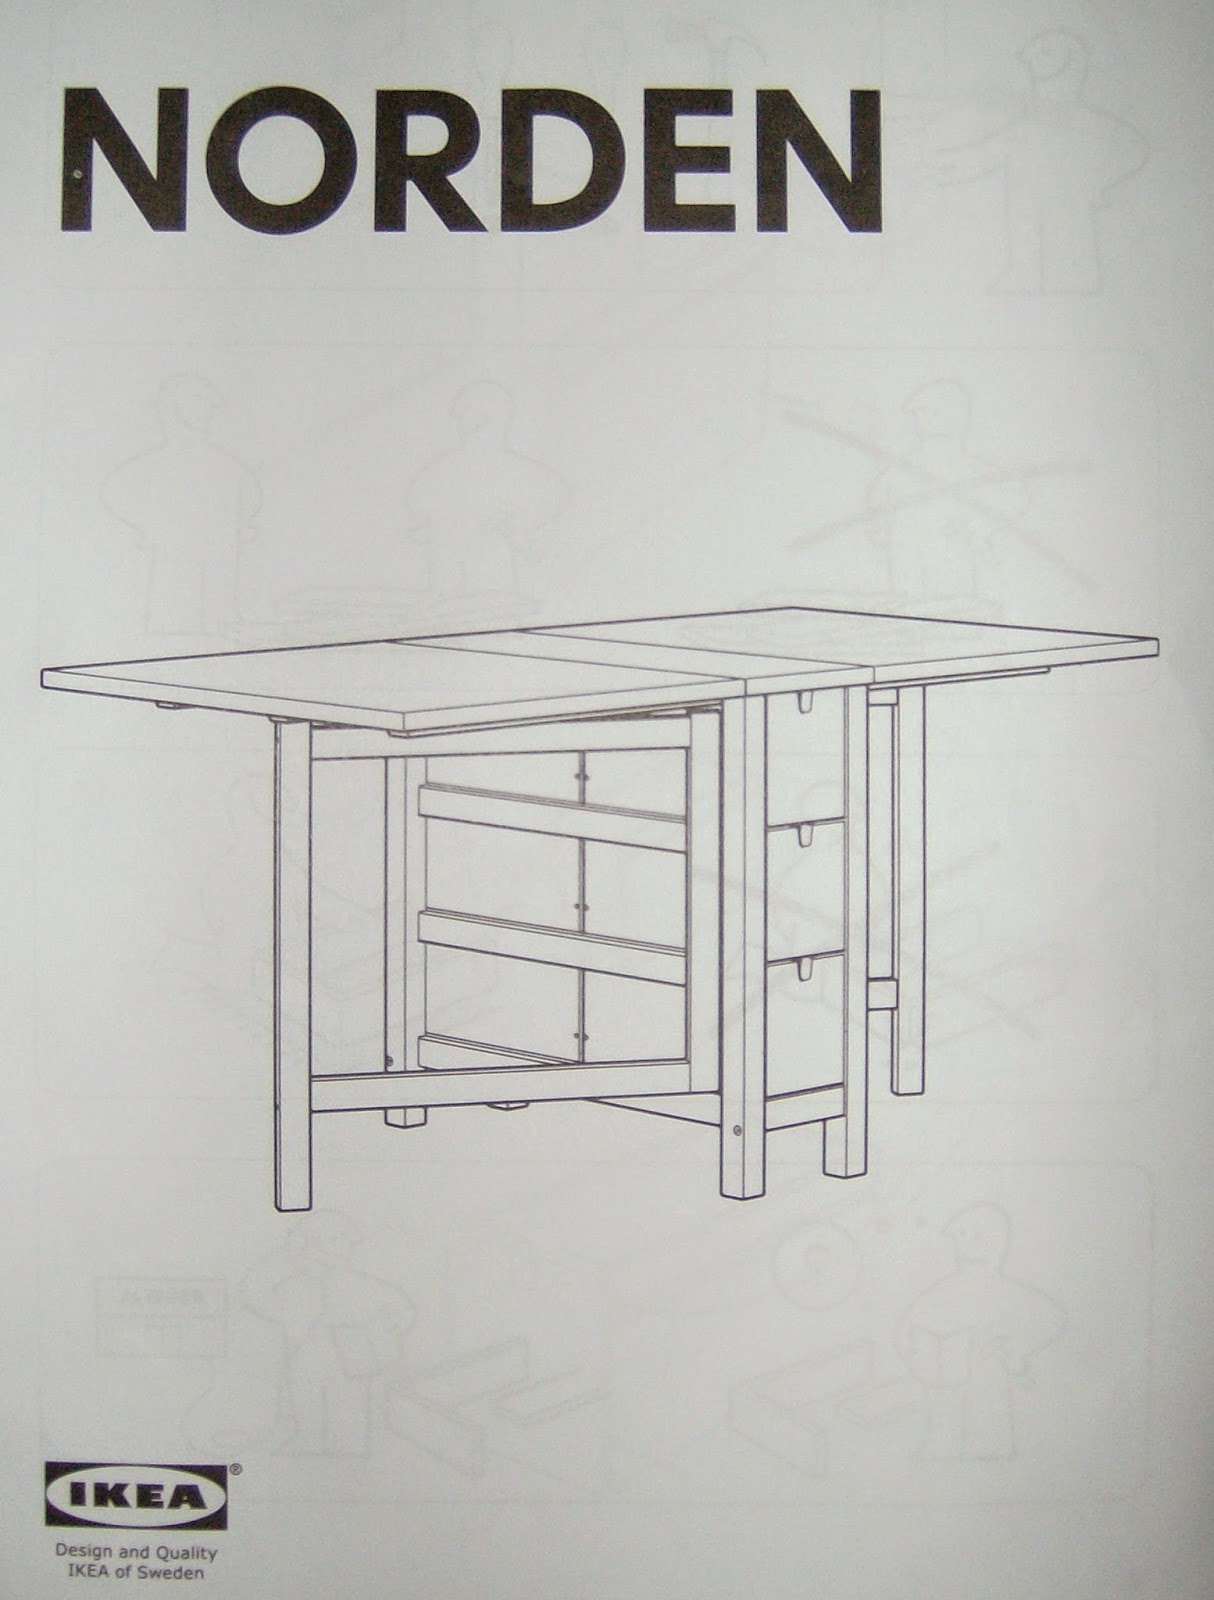
 |
| Folding table Ikea solid wood. Tavolo pieghevole di Ikea in legno massiccio. |
 |
| Anti-slip cloth on the folding table. Panno anti scivolo sul tavolo pieghevole. |
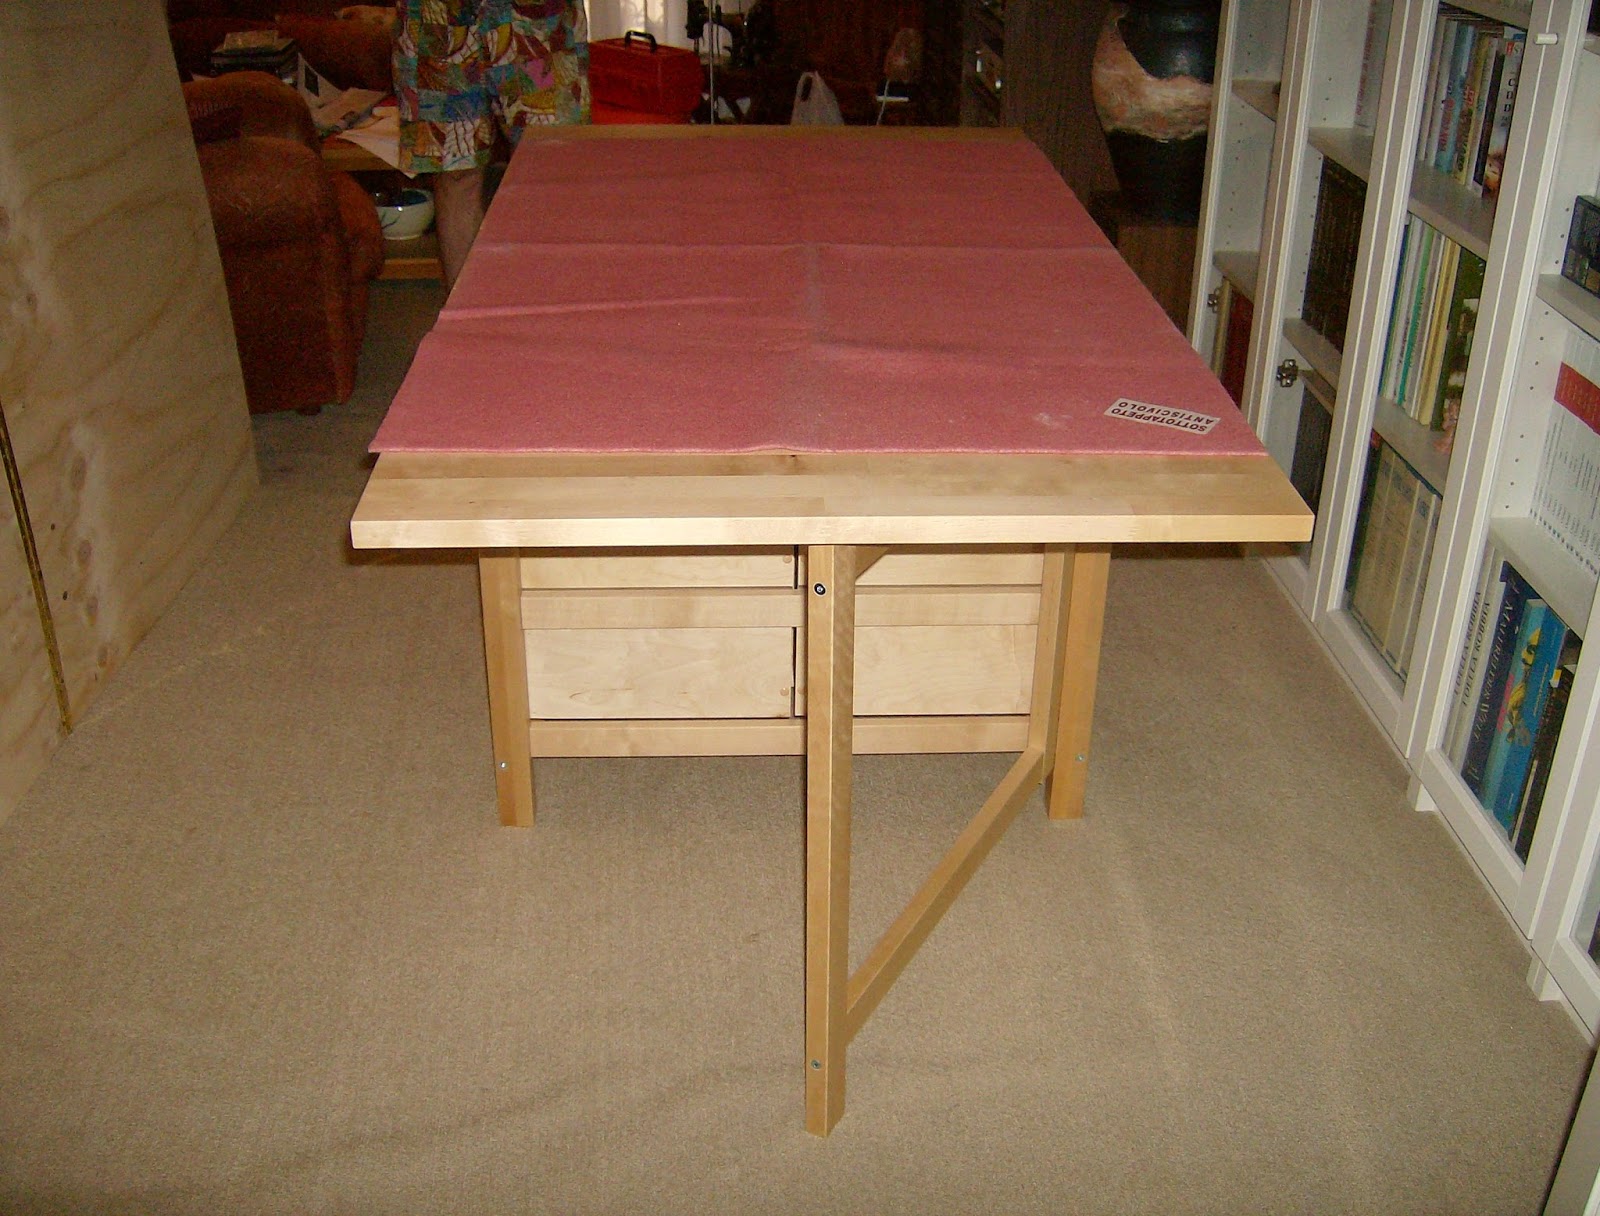 |
| Anti-slip cloth on the folding table. Panno anti scivolo sul tavolo pieghevole. |
 |
| Shelf for the wargame superimposed on the folding table Ikea (the central drawers have been removed). Ripiano per il wargame sovrapposto al tavolo pieghevole Ikea (i cassetti centrali sono stati tolti). |
 |
| The house is small! La casa è piccola! |